How to Master Long Exposure Photography with the Right Gear
23 November 2025
Long exposure photography is like capturing time in a bottle. It lets you paint with light, stretch seconds into art, and breathe life into motionless frames. But if you’ve ever tried those silky waterfalls or starry sky trails and ended up with a blurry mess — you’re not alone.
The good news? You don’t need to be a professional photographer or own a truckload of expensive gear to get started. With the right tools and a dash of know-how, mastering long exposure is absolutely within reach.
Let’s dive into the gear and techniques you'll need to transform your shots from “meh” to “OMG, did I take that?”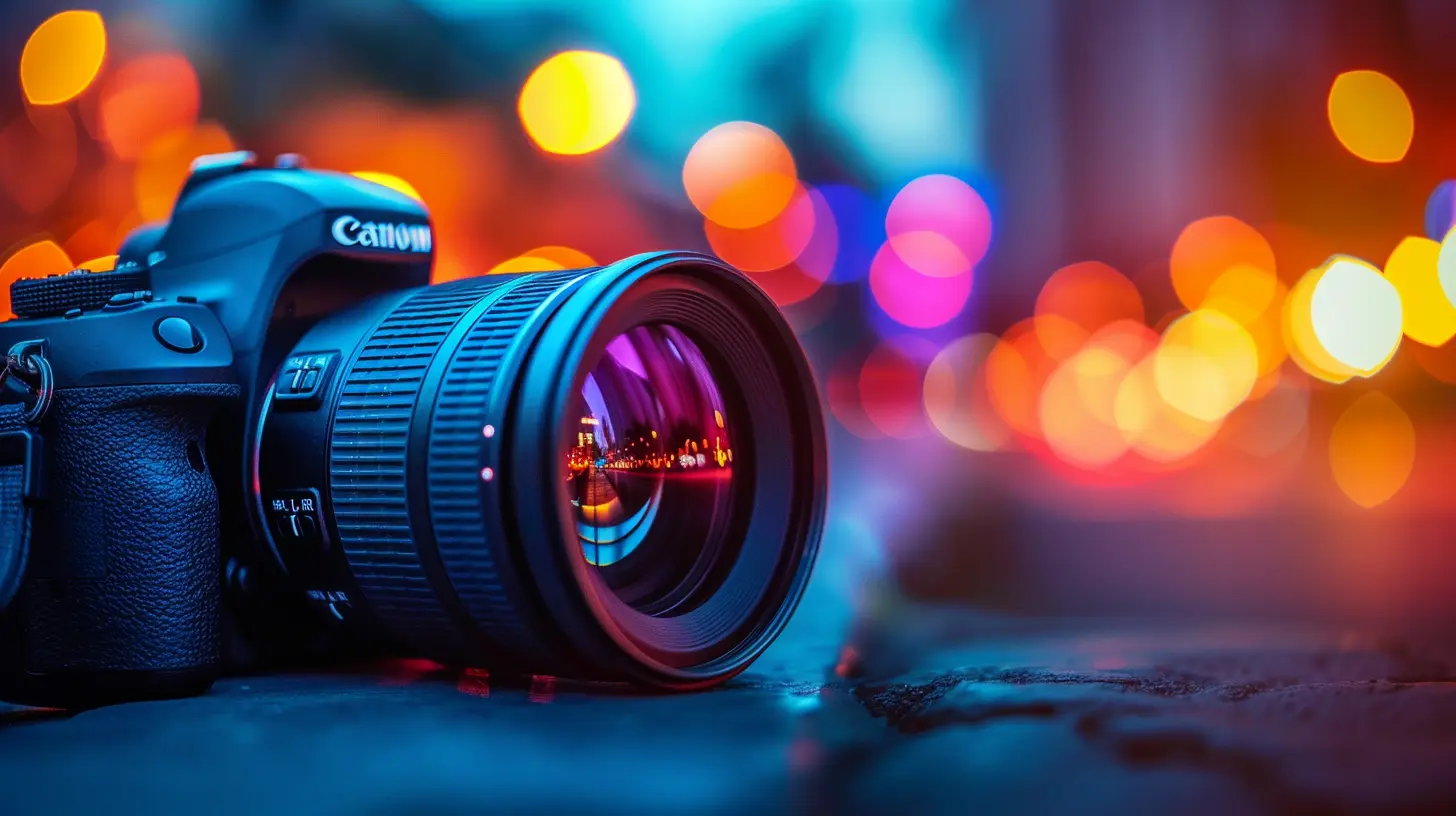
What is Long Exposure Photography, Anyway?
Let’s break this down. Long exposure photography involves using a slow shutter speed to capture a scene over a longer period of time. Instead of snapping a moment, your camera collects light for several seconds, minutes, or even hours._Imagine this_: you’re taking a photo of a busy street. In regular photography, you’ll freeze the people and cars in place. But with long exposure? Those same people and cars become streaks of motion, while static objects like buildings stay tack sharp.
It’s like turning your camera into a time machine — sounds cool, right?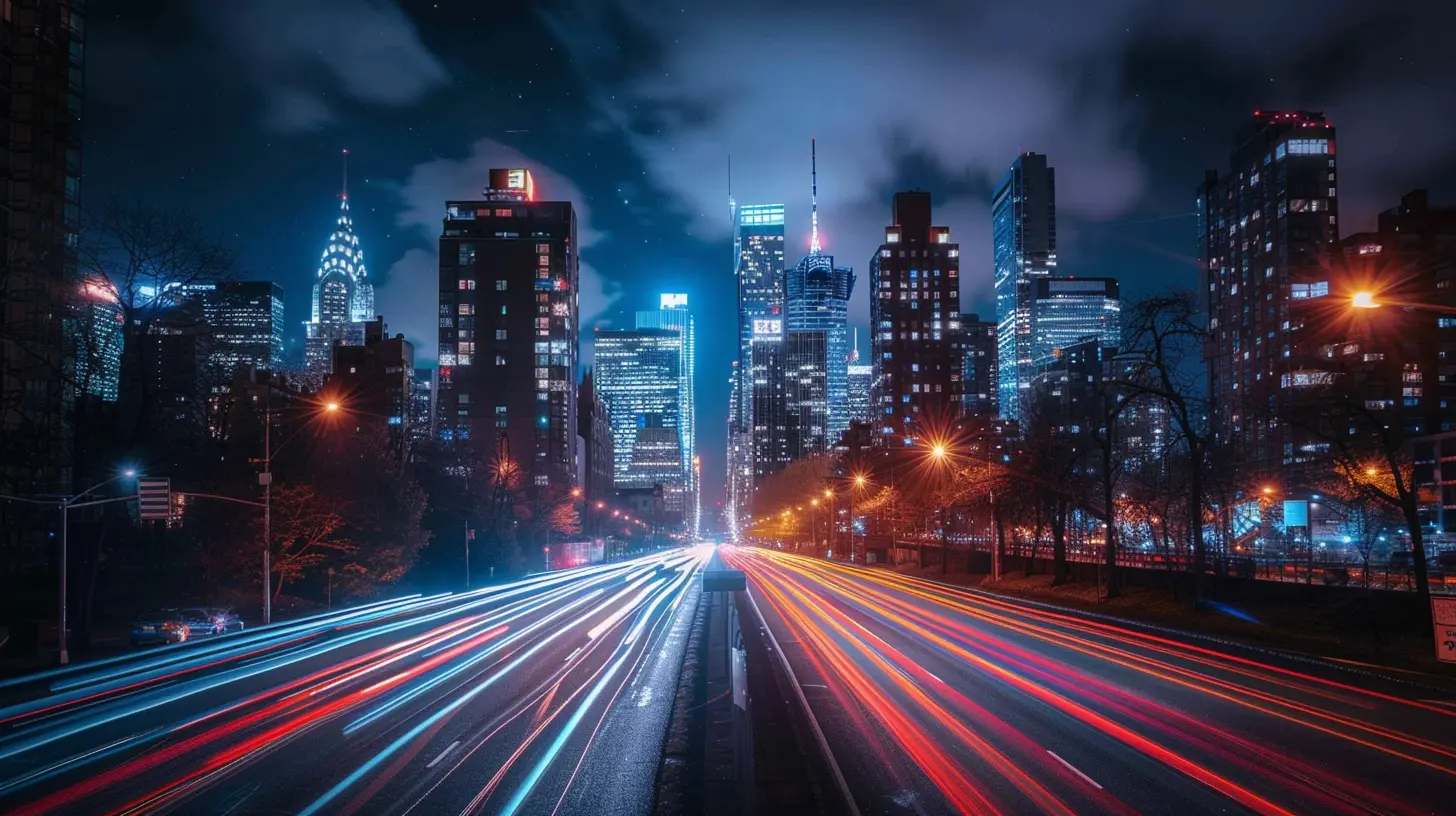
Why Bother With Long Exposure?
Glad you asked. Long exposure opens up a whole new world of creative expression:- Create silky smooth water: Think dreamy waterfalls or glassy lakes.
- Soften clouds or create streaks: Add drama to otherwise dull skies.
- Capture star trails or the Milky Way: Hello, astrophotography!
- Remove people from busy places: Say goodbye to photobombers.
It’s all about extending time to tell more vivid, emotional stories. And let’s face it — it just looks awesome.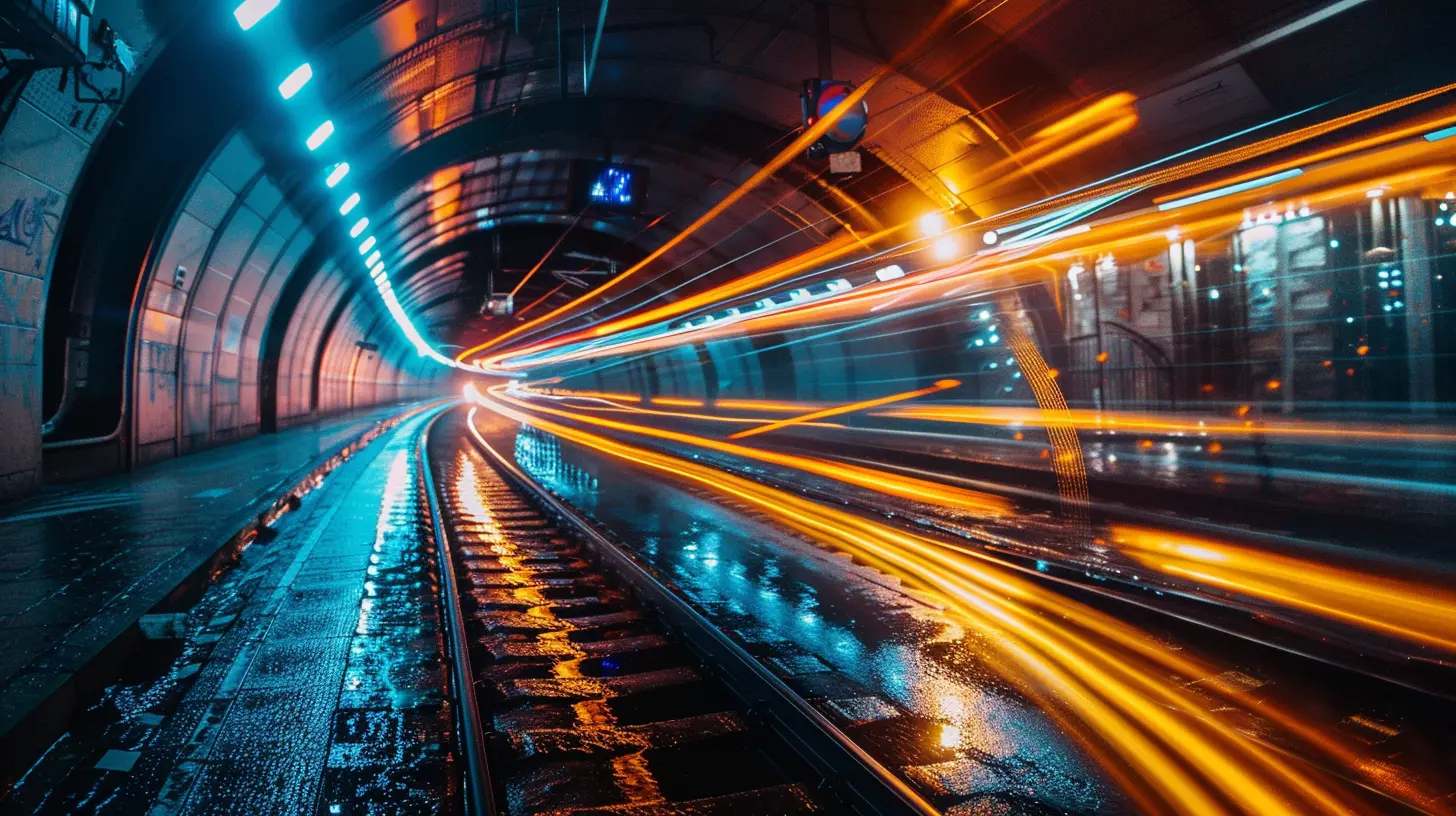
The Holy Grail: The Right Gear
Wanna know a little secret? Long exposure isn’t just about fancy settings — it’s about having the right gear. Here’s the essential kit you’ll need, without breaking the bank.1. Sturdy Tripod (Your Best Friend)
Let’s start with the obvious: movement kills long exposure. Even the slightest camera shake will blur the entire image. That’s why a solid, sturdy tripod is a must.What to look for:
- Heavy enough to withstand wind
- Adjustable legs for uneven terrain
- Quick-release plate for easy mounting
Pro tip: If you’re on a budget, a decently-weighted aluminum tripod will outperform a flimsy carbon fiber one.
2. Camera with Manual Controls
You don’t need the latest DSLR or mirrorless beast. But your camera must let you control shutter speed, ISO, and aperture manually. If your camera has a Bulb mode, that’s even better — it lets you keep the shutter open as long as you want.DSLRs, mirrorless cameras, and even some advanced compacts will do the trick here.
3. Wide-Angle Lens (Optional but Awesome)
A wide-angle lens gives you more room to play with — perfect for capturing sweeping landscapes or starry skies. Look for one with:- A wide aperture (f/2.8 or wider for low-light)
- Manual focus ring (super helpful at night)
But hey, don’t let gear envy get in the way. Even your kit lens can work wonders in the right hands.
4. ND Filters (The Secret Sauce)
Neutral Density (ND) filters are like sunglasses for your camera. They block light, allowing you to use longer shutter speeds even in bright conditions. They're essential if you want to shoot long exposures during the day.Types:
- Fixed ND (e.g., ND8, ND1000)
- Variable ND (adjustable darkness — great for flexibility)
Quick cheat sheet:
- ND8 = 3 stops (good for subtle effects)
- ND64 = 6 stops (great for waterfalls)
- ND1000 = 10 stops (perfect for dramatic skies and glassy water)
Without ND filters, forget about daytime long exposure — unless you want completely blown-out photos.
5. Remote Shutter Release or Intervalometer
Here’s the deal: the moment you press the camera’s shutter, you introduce vibrations. What’s the point of a tripod if you’re going to shake the camera?Get yourself a:
- Remote shutter release: Wired or wireless, just trigger the camera without touching it.
- Intervalometer: Ideal for astro or time-lapse photography; it lets you program multiple exposures.
Your fingers will thank you — and so will your photos.
6. Extra Batteries and Memory Cards
Long exposure equals long shooting times. That means your battery drains faster and you’ll shoot fewer frames — but each one eats up more memory.Pack:
- At least 2–3 fully charged batteries
- High-speed memory cards with lots of space
Because nothing kills a creative vibe like a "Battery Low" warning mid-shoot.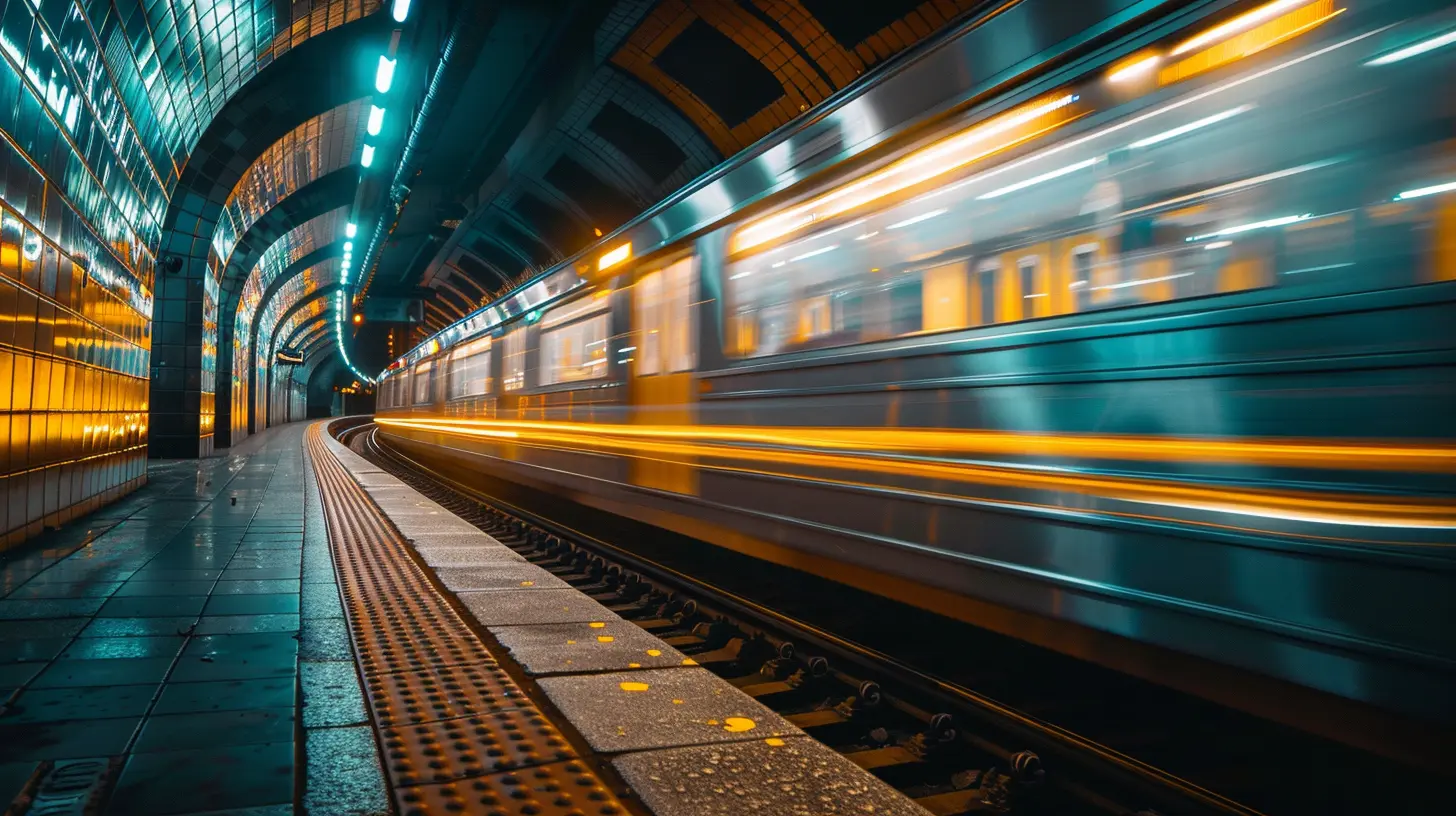
The Setup: Step-by-Step Guide for Long Exposure Beginners
Okay, gear in check? Awesome. Let’s roll up our sleeves and shoot some long exposures.Step 1: Choose Your Location Wisely
Scout out places that have a mix of movement and stillness. A waterfall, a pier at sunset, or city streets at night are all gold mines.Avoid crowded public places where people might bump your tripod — unless you want accidental abstract art.
Step 2: Set Up the Tripod and Frame the Shot
Once you've picked a spot:1. Mount your camera securely on the tripod.
2. Compose your shot using the viewfinder or LCD.
3. Lock everything down tight.
Remember, even a gust of wind or a shaky footstep can ruin your shot.
Step 3: Switch to Manual Mode
In manual mode (M on your dial):- Shutter speed: Start at 1–2 seconds for movement blur. Go up to 30+ seconds for smoothing water or light trails.
- Aperture: Use a narrow aperture (f/8 to f/16) for sharpness.
- ISO: Keep it as low as possible (e.g., ISO 100) to reduce noise.
If it’s daytime and your image is still too bright? Time to slap on that ND filter.
Step 4: Focus Manually
Autofocus can struggle in low light or with ND filters. So:1. Autofocus first (if needed), then switch to manual focus to lock it in.
2. Or just use manual focus from the start, and zoom in on live view to fine-tune.
Trust me, this step can make or break your shot.
Step 5: Set a Timer or Use Remote Trigger
No remote? Use your camera’s 2-second timer to avoid shake. But if you’ve got a remote shutter or intervalometer, even better.Now you’re ready for action.
Step 6: Click. Wait. Marvel.
Press that shutter. Then wait.Seconds tick by. Light flows across the sensor. You’re capturing not a moment... but a movement.
Once the shutter closes — boom. Magic.
Troubleshooting: Common Mistakes (And How to Fix Them)
We’ve all been there. Long exposure might look easy on Instagram, but it’s a technical beast. Here’s how to tame it.Problem: Image Too Bright (Overexposed)
Solution:- Use stronger ND filter
- Lower ISO
- Narrow your aperture further (higher f/number)
Problem: Image Too Dark
Solution:- Increase shutter time
- Open aperture (lower f/number)
- Slightly raise ISO (but be wary of noise)
Problem: Blurry Images
Solution:- Use a sturdier tripod
- Enable image stabilization only if hand-held — turn it OFF on your tripod
- Use a remote or timer
- Check your manual focus
Problem: Weird Color Casts
ND filters, especially cheap ones, can mess with your colors.Solution:
- Shoot in RAW (for easy correction)
- Adjust white balance manually
Creative Ideas to Try with Long Exposure
Stuck in a creative rut? Try spicing things up with these fun ideas:- Light painting: Use a flashlight or glow sticks to “paint” in the dark.
- Car trails: Stand on an overpass and capture the headlights below.
- Reflections: Use water to double the drama.
- Intentional camera movement (ICM): Twist or pan the camera mid-exposure for abstract effects.
Reminder: long exposure is not cheating. It’s painting with time.
Final Words: Practice > Perfection
Look, your first few shots might not be mind-blowing. That’s okay. Long exposure is all about patience, experimentation, and trusting your instincts.Once you’ve nailed the gear and technique, it turns into an addictive blend of science and art. Whether you’re chasing lightning, chasing stars, or just slowing down life’s chaos — long exposure helps you see the world differently.
One click at a time.
all images in this post were generated using AI tools
Category:
Camera GearAuthor:

Marcus Gray
Discussion
rate this article
2 comments
Mira Lozano
Get ready to capture magic! Long exposure photography is a game-changer—happy shooting!
December 8, 2025 at 4:29 AM
Marcus Gray
Thank you! Excited to share tips and inspire others to create stunning images with long exposure techniques! Happy shooting!
Capri Moses
Ready to turn your pictures into dreamy masterpieces? Long exposure photography is like giving your camera a magic wand! With the right gear, you can capture waterfalls that flow like silk and skies that twinkle like stars. Grab your tripod, and let the fun (and creativity) begin! 📷✨
November 23, 2025 at 4:54 AM
Marcus Gray
Absolutely! Long exposure photography truly transforms ordinary scenes into enchanting visuals. With the right tools and creativity, you'll capture stunning images that tell a story! 📷✨