How to Keep Your Camera Gear Safe on Outdoor Adventures
21 October 2025
Heading into the great outdoors with your camera in hand is one of the most thrilling ways to blend creativity with adventure. Whether you're hiking through dense forests, climbing rocky peaks, or trekking across sandy deserts, capturing those breathtaking moments is worth every ounce of effort. But hey—what’s not worth it? Damaging your precious camera gear.
Camera equipment isn’t cheap. We’re talking thousands of dollars for just one lens sometimes. So, if you’re planning outdoor shoots, you absolutely need to know how to protect your gear from water, dust, bumps, drops, and whatever else Mother Nature might throw your way.
Let’s break down how to keep your camera gear safe during your outdoor escapades—and we’ll do it in simple, everyday language. No geeky jargon here. Just practical tips with a friendly sprinkle of hard-earned wisdom.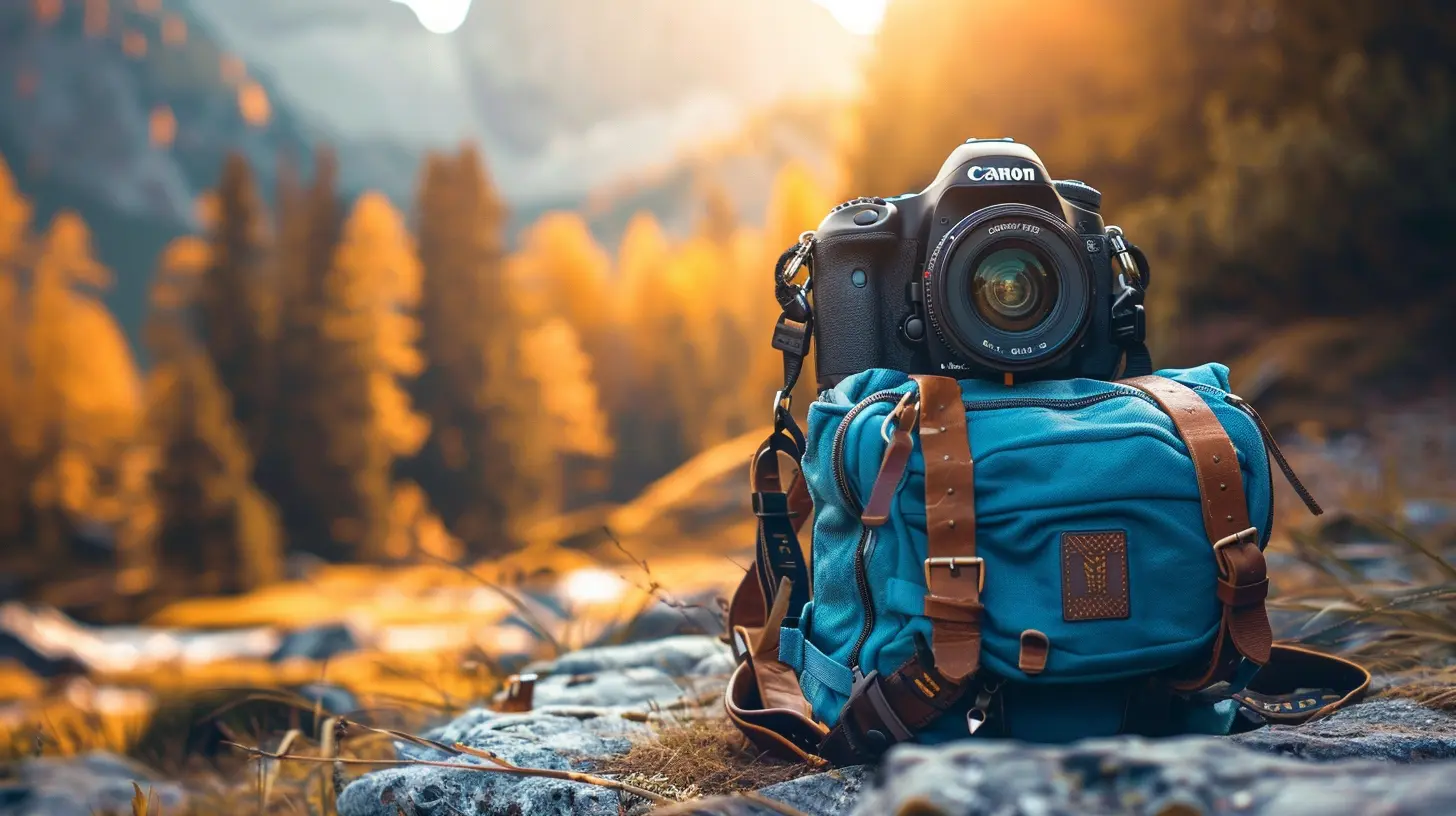
Why Taking Your Camera Outdoors is Risky (But Worth It)
Let’s face it, nature is wild. One minute, you’ve got sunshine and smiles; the next, you're running from a surprise hailstorm with your DSLR stuffed under your shirt.And the terrain? Uneven paths, sharp rocks, and tree branches don’t exactly scream “camera-friendly.”
But here’s the kicker—some of the most stunning, frame-worthy shots you’ll ever capture exist out there, beyond the pavement. So, if you're going to chase those perfect golden-hour shots on mountaintops, you just need to be smart about it.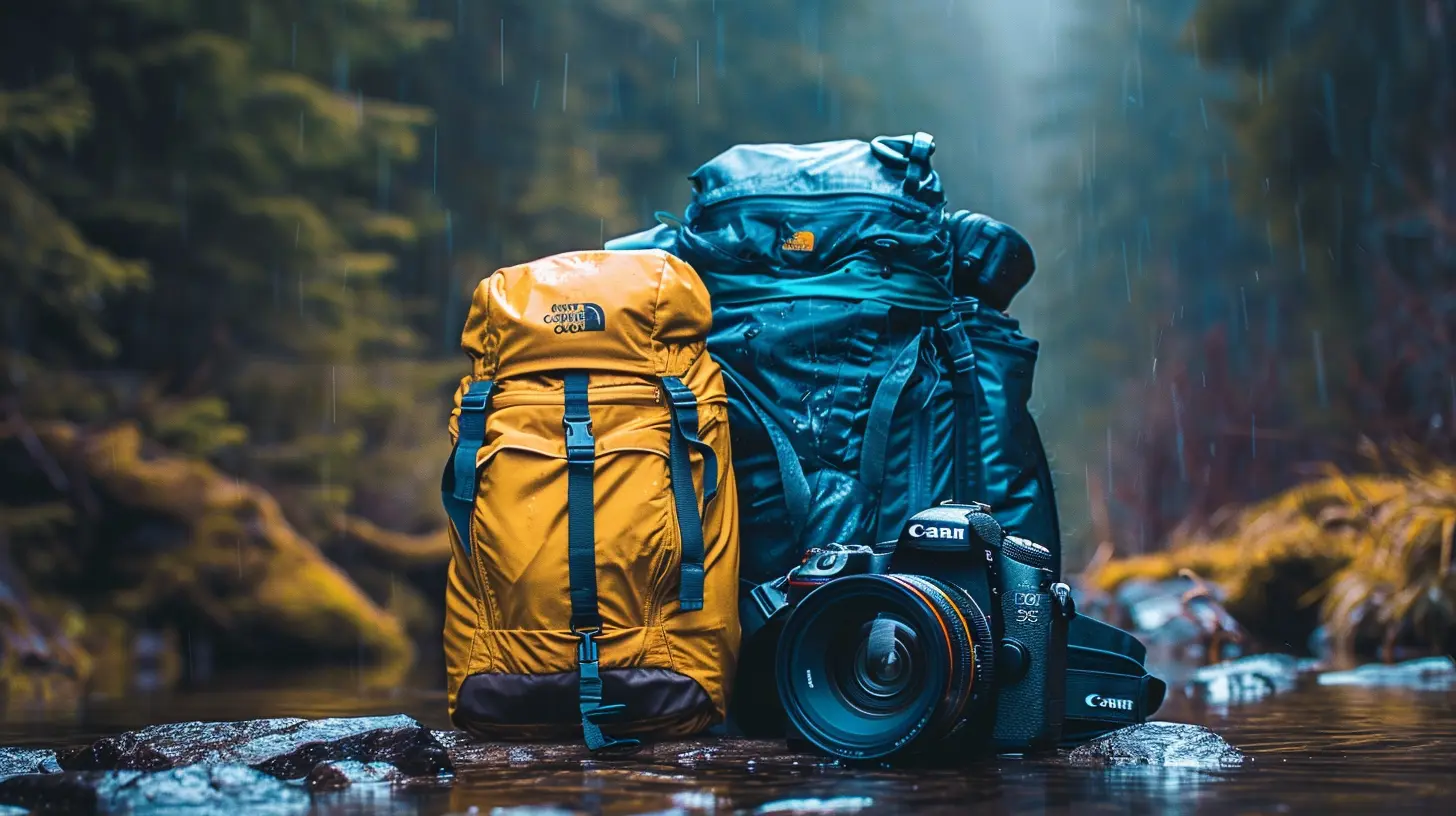
1. Choose the Right Camera Bag – Your First Line of Defense
Think of your camera bag as your gear’s personal bodyguard. It doesn’t just carry your stuff—it protects every lens, body, and battery tucked inside.What to Look for in an Outdoor Camera Bag:
- Weather-proofing: Look for bags with rain covers or built-in waterproofing. You will get caught in strange weather.- Sturdy padding: If your bag falls, your gear shouldn’t feel a thing.
- Customizable compartments: That way, each piece of gear has its own cozy, safe little home.
- Comfort: Trekking for hours? Your back and shoulders will thank you for padded straps and ergonomic designs.
A backpack-style camera bag is usually your best bet for long hikes. For quick trips, a sling bag might do the trick.
Pro tip? Don’t skimp on quality. A $200 camera bag is a small price to pay to protect $3,000 worth of gear.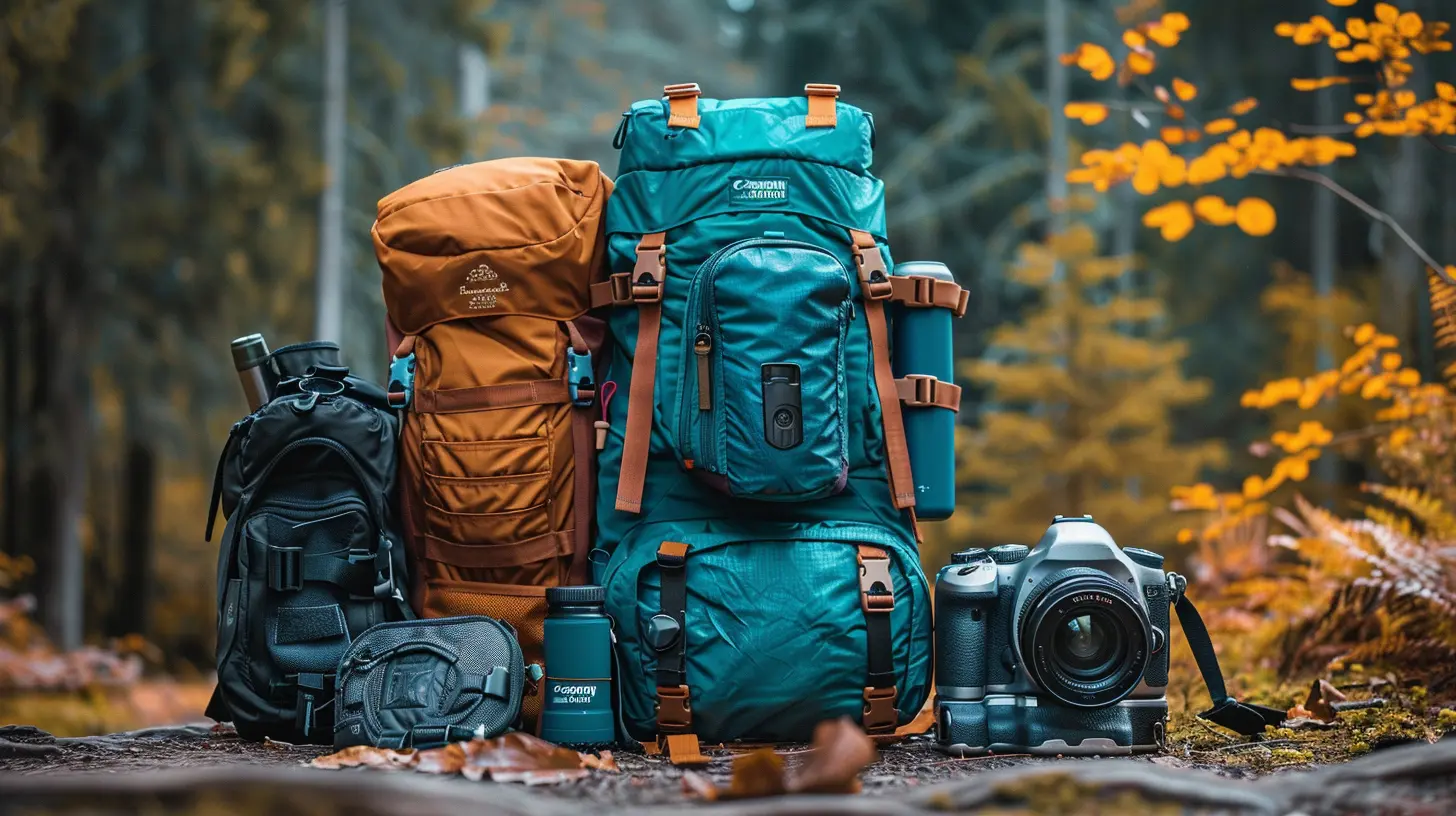
2. Embrace Weather Protection — Rain, Snow, and Sun
Outdoor adventures can be unpredictable. One second it’s clear blue skies, and the next, you're shooting ducks in a rainstorm.Keep Your Gear Dry:
- Silica gel packs: Toss a few inside your camera bag. They’re tiny moisture-absorbers and prevent fogging.- Rain covers: Waterproof sleeves for your camera body and lenses can be lifesavers.
- Plastic zip-lock bags: They’re your low-tech but effective emergency solution.
- Lens hoods: Not just for glare—these also help keep raindrops off your lens.
Oh, and don’t forget about heat. If you’re out in the sun all day, overheating can damage sensors and batteries.
Tip for Hot Conditions:
Wrap a light-colored scarf or cloth around your bag to reflect sunlight. It’s like giving your gear a beach umbrella.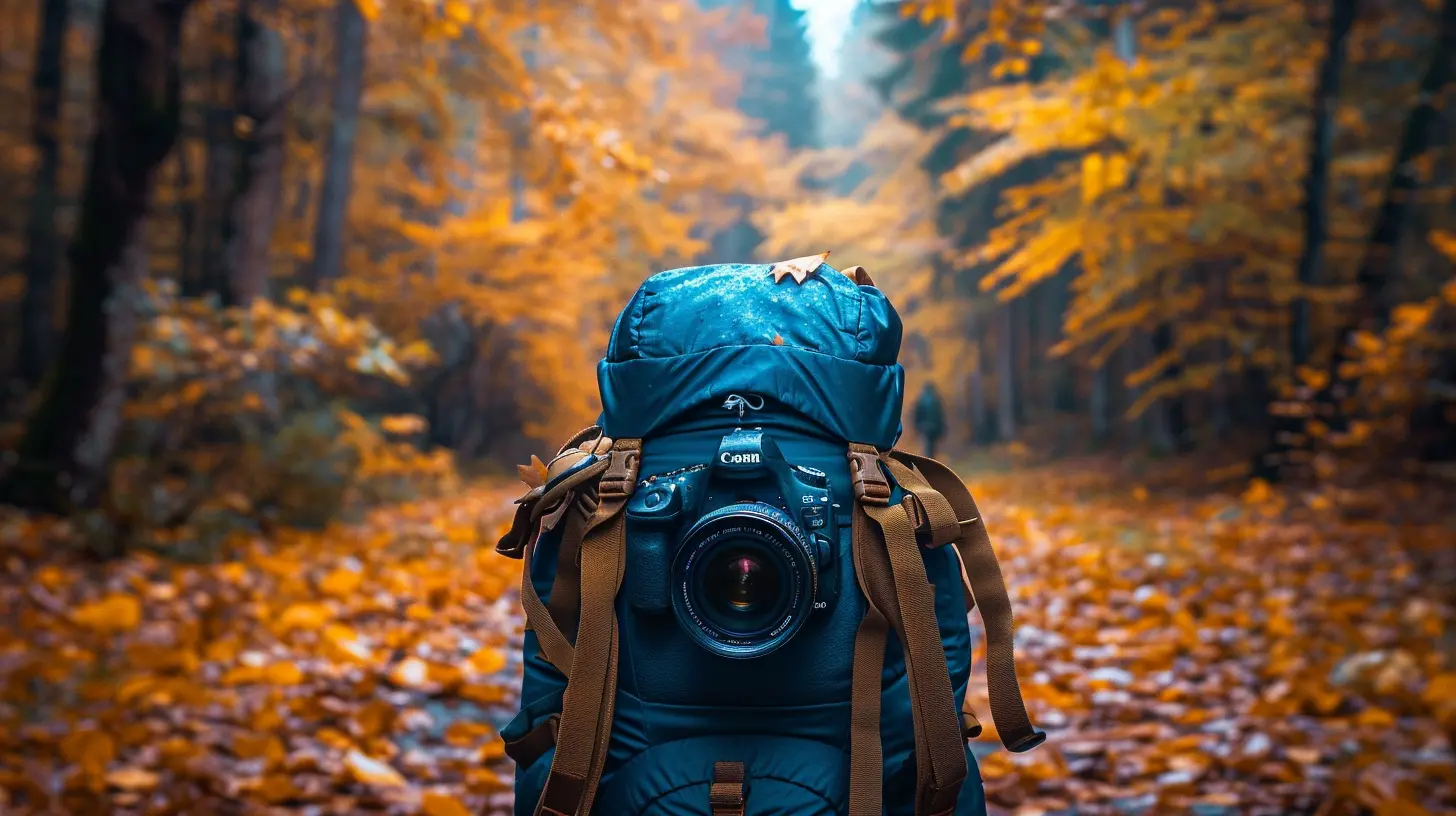
3. Use a Good Camera Strap or Harness
Ever have your camera swing like a wrecking ball into a boulder? Not fun.Standard neck straps just don’t cut it on rough terrain. They bounce, swing, and put a lot of strain on your neck.
Consider These Alternatives:
- Cross-body sling straps: More stable and distribute weight better.- Camera harnesses: Great for long hikes where you need hands-free comfort.
- Wrist straps: Handy for lighter builds or quick-access shooting.
Straps with locking mechanisms are even better. They help avoid the nightmare scenario of your camera slipping off mid-hike.
4. Clean Your Gear Like a Pro – Dust Is Everywhere
Sand and dust are like glitter—they get into everything, and they’re almost impossible to clean if left too long.After every outdoor trip, make it a habit to wipe down your gear.
Your Outdoors Cleaning Kit Should Include:
- A soft, lint-free microfiber cloth- A lens brush or blower for dust
- Sensor cleaning tools (if you’re gutsy enough)
- Isopropyl alcohol wipes (for tougher grime)
Don’t just clean the lens; check the viewfinder, buttons, and screens too. Dust builds up fast, and the longer it sits, the harder it is to remove.
5. Pack Only What You Need – Travel Light, Think Smart
Less is more, especially when you’re climbing hills or deep in the woods. The heavier your bag, the more likely you are to drop, bump, or misplace something.Ask yourself: Do you really need three zoom lenses for a sunset shoot?
Gear Essentials Checklist for Outdoor Photography:
- One versatile lens (like an 18-135mm or 24-70mm)- A sturdy tripod
- Extra batteries and memory cards
- Cleaning tools
- A waterproof cover
Keeping your gear list lean not only protects your back but also your pockets (from falling gear and regrettable purchases).
6. Beware of Condensation – The Invisible Enemy
One of the sneakiest dangers to your gear is condensation—especially when moving between hot and cold environments.How to Avoid It:
- When entering a warm area (like your car or tent), leave your camera in your bag for about 15–20 minutes. This lets it acclimate.- Use zip-lock bags to isolate your camera during these transitions.
- Those silica gel packs we mentioned earlier? They help here too.
Condensation can fog up your lens or even cause long-term water damage to internal circuits. And that’s a headache you don’t want.
7. Be Extra Careful When Swapping Lenses Outdoors
Changing lenses in the field is like doing brain surgery in a sandstorm. You better be super careful.Every time you expose your sensor, you’re giving dust the green light to settle in. That’s bad news for your image quality and sensor health.
Safe Lens Swap Tips:
- Face your camera downward while changing lenses. Gravity’s on your side here.- Try to find a sheltered spot—like under a jacket or rock overhang.
- Keep lens caps and rear caps handy and clean.
And hey, if you can avoid changing lenses until you’re in a cleaner space, even better.
8. Use Lens and Screen Protectors
Screen protectors aren’t just for smartphones. Your camera’s LCD deserves the same TLC.A scratched-up LCD screen doesn’t just look bad—it can interfere with your ability to preview shots clearly.
Protectors to Consider:
- Tempered glass screens- UV filters or clear protective filters for lenses
These are affordable add-ons that could save you a lot of money in repairs.
9. Label Your Gear – Just in Case
Lost gear is a major gut-punch. Sometimes it just happens, especially if you’re juggling tripods, drones, and a whole backpack of stuff.Do This:
- Use waterproof name tags or stickers with your contact info.- Some folks even slide a business card into their camera bag’s inner pockets.
- For high-end gear, consider GPS trackers or smart tags like Apple AirTags.
Will this guarantee recovery if you lose something? No, but it definitely boosts your chances.
10. Insurance – Worth Every Penny
It’s boring, sure. But gear insurance might be the wisest investment you make if you’re shooting outdoors regularly.Look into plans that cover theft, accidental damage, and natural disasters—not just fire and water.
Some companies offer policies tailored to photographers and filmmakers. A few extra bucks a month could save you thousands someday.
Final Thoughts: Respect Your Gear, Respect the Wild
Look, your camera gear is your creative partner. It helps you tell stories, capture memories, and freeze those epic adventures in time. So treat it like a teammate. Protect it, care for it, and plan ahead.When you’re shooting in nature, you’re entering one of the planet’s most beautiful photo studios. But it's also one of the roughest.
With a bit of preparation—and a whole lot of common sense—you can keep your camera gear safe and sound while chasing the perfect shot.
So go ahead, hit the trail, climb the hill, walk through the snow. Just don’t forget to pack smart, plan well, and give your gear the protection it deserves.
Now, what are you waiting for? Adventure (and amazing photos) await.
all images in this post were generated using AI tools
Category:
Camera GearAuthor:

Marcus Gray
Discussion
rate this article
1 comments
Zayne Cross
Adventure awaits, but so does protection!" 📸✨
October 21, 2025 at 11:59 AM
Marcus Gray
Absolutely! Balancing adventure with protection is key to capturing every moment safely. Happy shooting! 📸✨