How to Get Professional Results with Budget Camera Gear
12 October 2025
Let’s be real for a second: photography can be an expensive hobby. From high-end cameras to pricey lenses and accessories, the cost of gear can quickly add up. But what if I told you that you don’t need to drain your bank account to achieve professional-level results? Yes, that’s right. With some clever techniques, a bit of creativity, and some budget-friendly gear, you can capture stunning photos without breaking the bank.
In this article, we’re going to dive into how you can get professional results with budget camera gear. Whether you’re a beginner looking to up your photography game or a seasoned shooter trying to make the most of your budget, we’ve got you covered. Ready to level up your photography without emptying your wallet? Let’s get started!
Understanding the Basics of Photography
Before we get into the gear, let’s take a step back and talk about the fundamentals of photography. Because, let’s face it, even the most expensive camera won’t guarantee great results if you don’t know how to use it properly.Master the Exposure Triangle
The exposure triangle is a crucial concept that every photographer should know. It’s made up of three components: aperture, shutter speed, and ISO. These three settings work together to control how light enters your camera, and understanding them is key to capturing a well-exposed image.- Aperture: Think of aperture as the "eye" of your camera. A wide aperture (lower f-stop number) lets in more light and creates a shallow depth of field, giving you that beautiful blurry background effect. A narrow aperture (higher f-stop number) lets in less light and keeps more of the scene in focus.
- Shutter Speed: This controls how long your camera’s sensor is exposed to light. A fast shutter speed (like 1/1000) freezes action, while a slow shutter speed (like 1/30) creates motion blur.
- ISO: ISO controls your camera’s sensitivity to light. A lower ISO (100-400) is ideal for bright conditions, while a higher ISO (800 and above) is useful in low light. However, be cautious—higher ISOs can introduce grain or noise to your photos.
Composition is Key
You’ve heard it before: “It’s not the camera, it’s the photographer.” Well, it’s true! Composition plays a massive role in creating visually appealing images, and it doesn’t cost a dime to improve this skill. One simple but powerful composition technique is the Rule of Thirds. Imagine your frame divided into a grid of nine squares. By placing your subject along these lines or at their intersections, you can create a more balanced and engaging photo.Another tip? Leading lines. Use natural lines in your environment (like roads, fences, or bridges) to guide the viewer’s eye toward your subject. Trust me, it’s a game-changer!
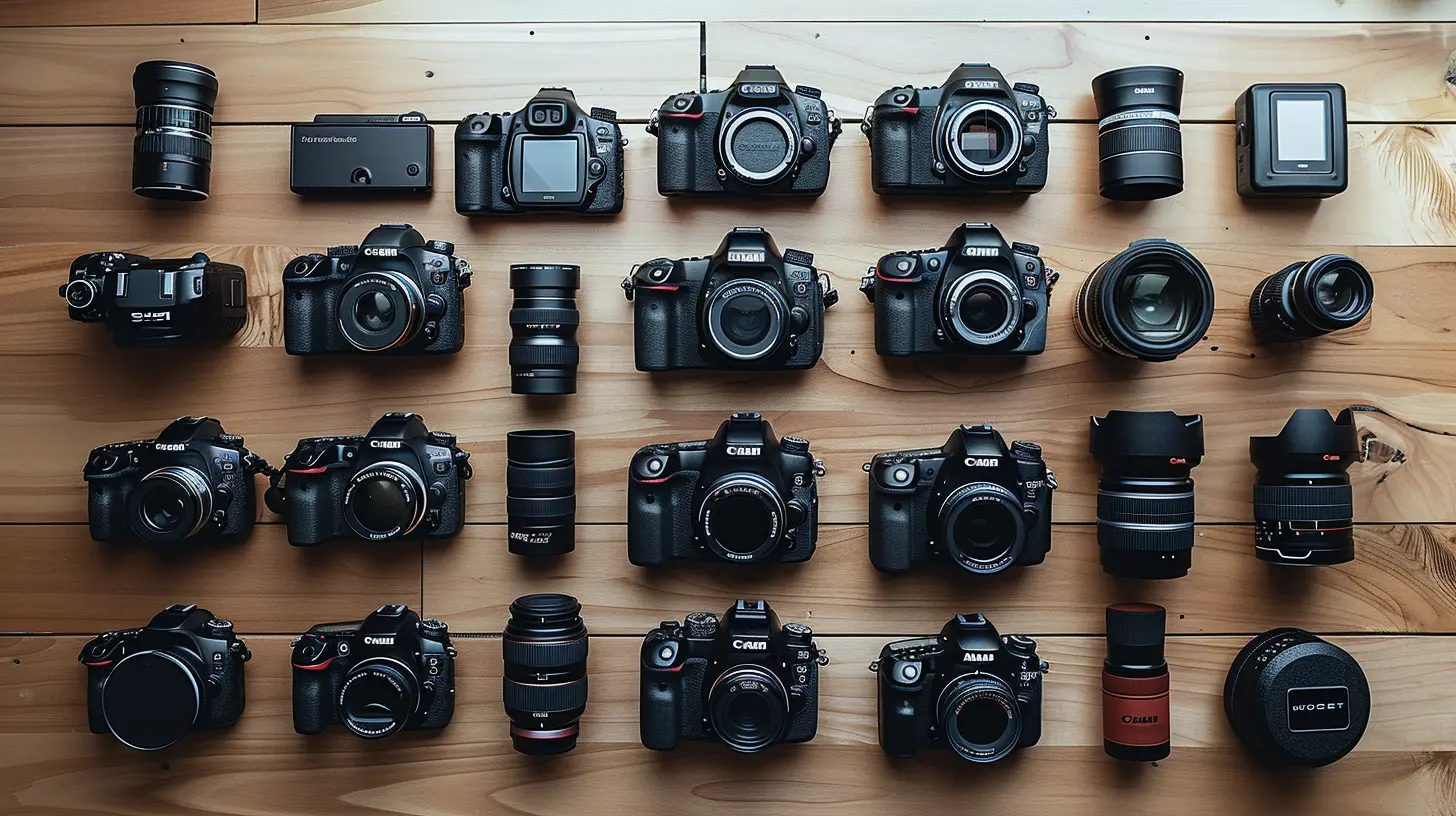
Choosing the Right Budget Camera
Alright, now onto the gear. If you’re just starting out or if you’re on a tight budget, you might not be able to afford the latest full-frame DSLR or mirrorless camera. But guess what? You don’t need one! There are plenty of budget-friendly cameras that can deliver fantastic results when used correctly.Entry-Level DSLRs and Mirrorless Cameras
- Canon EOS Rebel Series: The Canon Rebel series (T7, T8i, etc.) is a great option for beginners. You get a decent APS-C sensor, solid autofocus, and good image quality—all at a budget-friendly price. Plus, Canon’s ecosystem has a wide variety of affordable lenses and accessories.- Nikon D3500: This is another awesome entry-level DSLR. It’s compact, lightweight, and delivers fantastic image quality for its price. If you’re looking for a simple, no-nonsense camera to get started with, the Nikon D3500 is a great choice.
- Sony Alpha a6000: If you prefer mirrorless, the Sony Alpha a6000 is a top contender. It has an APS-C sensor, fast autofocus, and excellent image quality. Plus, it’s small and portable, making it a great option for both beginners and travelers.
Consider Used or Refurbished Gear
Don’t overlook the used or refurbished market. You can often find great deals on barely used cameras and lenses from reputable sellers. Websites like KEH, B&H, and Adorama offer used gear with warranties, so you’re not taking a huge risk. And if you’re patient, you can snag some amazing deals.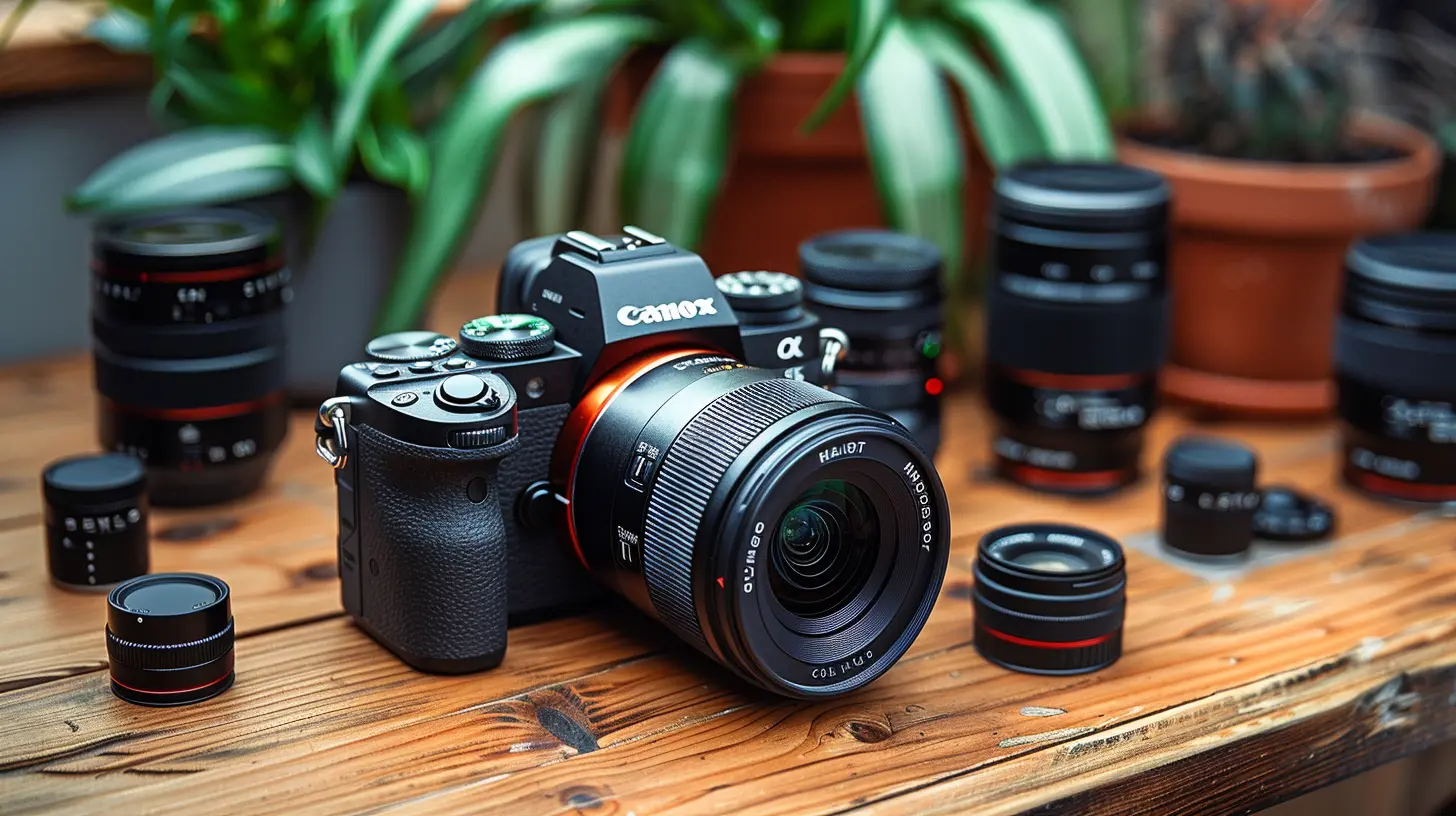
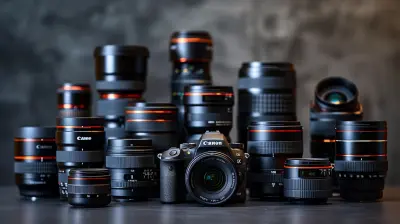
Affordable Lenses for Professional Results
When it comes to photography, lenses are just as important—if not more important—than the camera body itself. Even with a budget camera, a high-quality lens can do wonders for your images. The good news? You don’t need to spend a fortune to get a good lens.Prime Lenses: Your Best Friend
If you want professional-looking photos, consider investing in a prime lens. These lenses have a fixed focal length, meaning they don’t zoom in or out. The benefit? They often deliver sharper images and perform better in low light compared to zoom lenses.- Canon 50mm f/1.8 STM (Nifty Fifty): This lens is a legend in the photography world, and for good reason. It’s sharp, lightweight, and has a wide aperture of f/1.8, making it perfect for portraits, street photography, and even low-light conditions. Best of all, it’s super affordable—usually around $100!
- Nikon 35mm f/1.8G: If you’re a Nikon shooter, the 35mm f/1.8G is a fantastic option. It’s versatile, sharp, and performs well in low light. Plus, it’s compact and lightweight, making it easy to carry around.
- Sony 50mm f/1.8: For Sony mirrorless users, the 50mm f/1.8 is a budget-friendly prime lens that delivers excellent image quality. It’s great for portraits, street photography, and more.
Don’t Underestimate Kit Lenses
Many cameras come bundled with a kit lens (usually an 18-55mm zoom lens). While these lenses don’t have the best reputation, they’re actually pretty versatile. With proper technique, you can still get great results. Just remember to shoot in good lighting conditions and avoid using the widest apertures, as kit lenses tend to be soft at the edges.
Lighting on a Budget
You could have the best camera in the world, but if your lighting sucks, your photos will too. Luckily, you don’t have to spend big bucks on expensive lighting equipment to improve your photos.Natural Light: Your Free Resource
One of the easiest ways to get professional-looking photos is by using natural light. Early mornings and late afternoons are the best times to shoot because the light is softer and more flattering (this is known as the golden hour). Avoid shooting in harsh midday sun, as it can create unflattering shadows and blown-out highlights.If you’re indoors, position your subject near a window to take advantage of soft, diffused light. You can even use a white sheet or curtain to further soften the light.
Affordable Artificial Lighting
If you want more control over your lighting, you can invest in some affordable lighting gear. Here are a few budget-friendly options:- Speedlights: These are external flashes that you can attach to your camera. They’re much more powerful and versatile than your camera’s built-in flash. You can bounce the light off walls or ceilings for a softer, more natural look.
- Ring Lights: Ring lights are great for portrait and product photography. They provide even, shadow-free lighting, and you can find plenty of affordable options online.
- DIY Reflectors: Don’t want to spend money on a reflector? No problem! You can easily make your own using a piece of white foam board or aluminum foil. Use it to bounce light back onto your subject and fill in shadows.
Post-Processing: The Final Touch
Even with budget gear, you can elevate your photos to the next level through post-processing. You don’t need to be a Photoshop wizard to do this—there are plenty of user-friendly editing tools available that won’t cost you an arm and a leg.Free or Affordable Editing Software
- Adobe Lightroom: Adobe Lightroom is the go-to editing software for many photographers. While it’s not free, the monthly subscription is relatively affordable (around $10/month). It’s user-friendly, and you can do everything from color correction to basic retouching.- GIMP: If you’re looking for something free, GIMP is a fantastic alternative to Photoshop. It’s open-source software and offers many of the same features as Adobe’s premium offerings.
- Darktable: Another free option, Darktable, is a powerful photo editor aimed at photographers who prefer working with RAW files. It’s a great tool for fine-tuning exposure, contrast, and color.
Conclusion: It’s Not About the Gear—It’s About Your Skills
At the end of the day, the most important thing is not the gear you use but how you use it. With a solid understanding of photography basics, good composition, and a bit of creativity, you can get professional results even with budget camera gear. Remember, the best camera is the one you have with you, so don’t let a limited budget hold you back from capturing amazing photos.So, what are you waiting for? Grab your camera, head out, and start shooting!
all images in this post were generated using AI tools
Category:
Camera GearAuthor:

Marcus Gray
Discussion
rate this article
1 comments
Sable Hines
Great tips! Remember, creativity shines brighter than equipment—your passion is what truly matters.
October 14, 2025 at 2:41 AM
Marcus Gray
Thank you! I completely agree—passion and creativity are the keys to capturing stunning images, regardless of gear!